AppleのStudio Displayを購入しました。
Macと相性が良い、高画質な大画面ディスプレイです。
インカメラや高音質なスピーカーも付属しています。
 筆者
筆者特にクリエイターにおすすめしたい高級ディスプレイですね。
| メリット | デメリット |
|---|---|
| Macと相性が良い 画質が良い インカメラが付いている スピーカーの音質が良い | 値段が高い Macユーザーオンリー パソコンを1台しかつなげられない |

Studio Displayを購入した理由は?

なんで、Studio Displayを買ったの?
結構高いんでしょ?
 筆者
筆者写真現像や動画編集をするのに、大画面で高精細なディスプレイが欲しかったからです。
以前はiMac 27インチモデルを使っていました。5Kの高解像度で、綺麗なディスプレイでした。
その後、M1のMac miniがメイン機となり、DELLの4Kディスプレイ、S2721QS(27インチ)を使用。
 筆者
筆者DELLのはサードパーティ製なので、色の再現性や立ち上がりの遅さなどに不満がありました。
Studio Displayは、Macのために作られたディスプレイ。色再現性は抜群ですし、立ち上がりもあっという間です。
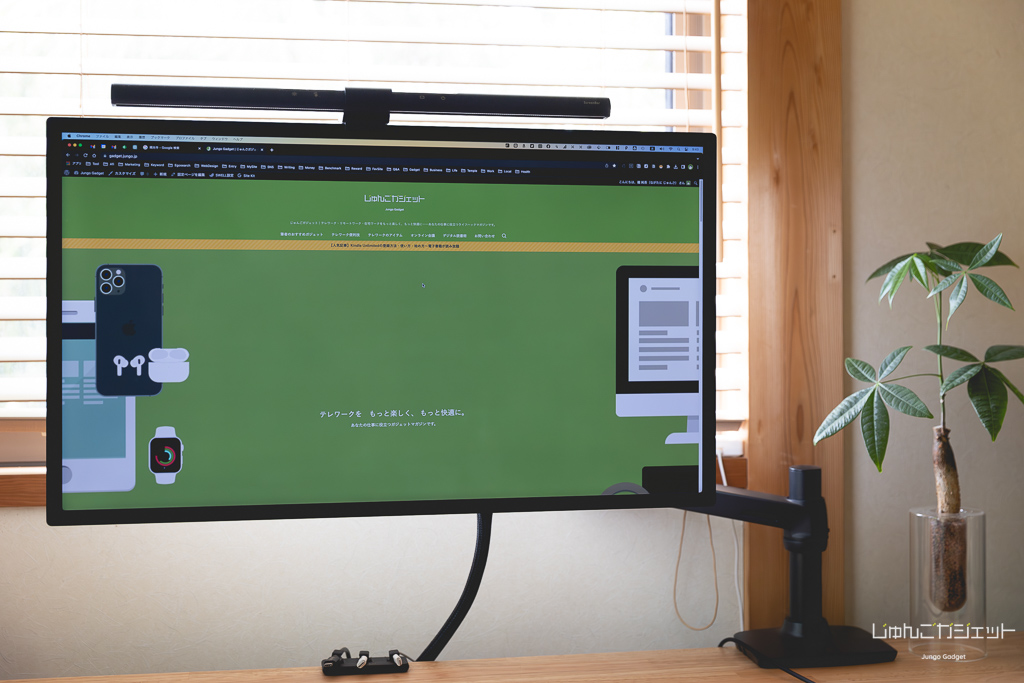
ディスプレイの下を広く使いたかったので、VESAマウントモデルを購入。
エルゴトロンのモニターアームで支えています。
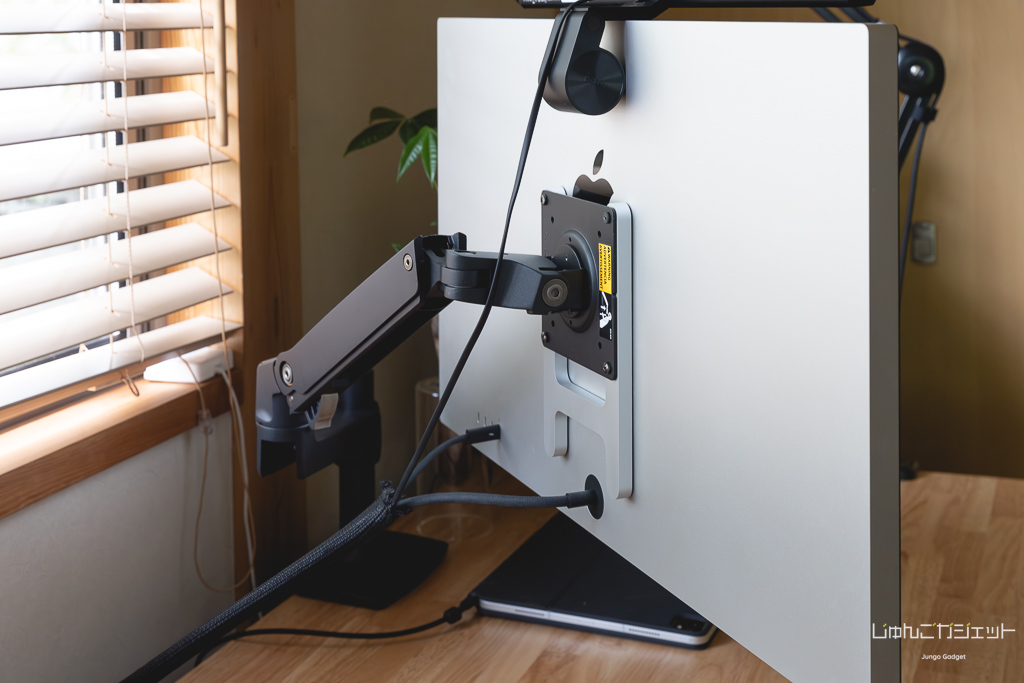 筆者
筆者画面は標準ガラス。新しく購入したMac mini(M2 Proモデル)をつないで快適に使ってます。
Studio Displayってどんなディスプレイ?
実際にStudio Displayを使ってみて、どんな感じ?
筆者当然ですが、Macと相性の良いディスプレイですね。画質が良いのはもちろん、接続もスムーズです。
カメラや高音質なスピーカーが内蔵されているので、周辺機器をそろえなくて良いのも魅力です。
Studio Displayのメリット
Macと相性が良い
「Mac専用ディスプレイ」と言っても過言ではないStudio Display。
Macシリーズは、他社製のディスプレイと相性が悪いこともありますが、Apple純正のStudio Displayはそんな心配は無用です。
Macとの接続はThunderboltケーブル1本。本体には、1mのThunderboltが付属しています。
MacBook ProやMacBook AirにはHDMI端子がなく、Thunderbolt端子しかありません。Studio DisplayならThunderbolt端子で接続でき、充電もできます。

MacBookを持ち出しても、帰ったらケーブル1本つなげれば良いのね。
ちなみに、Studio Displayには電源ボタンも明るさ調整ボタンもついていません。
電源につないでThunderboltケーブルを挿せば、自動的に画面が表示されます。
筆者Macとの相性の良さが、Studio Displayの一番の魅力ですね。
Studio Displayのメリット
画質が良い
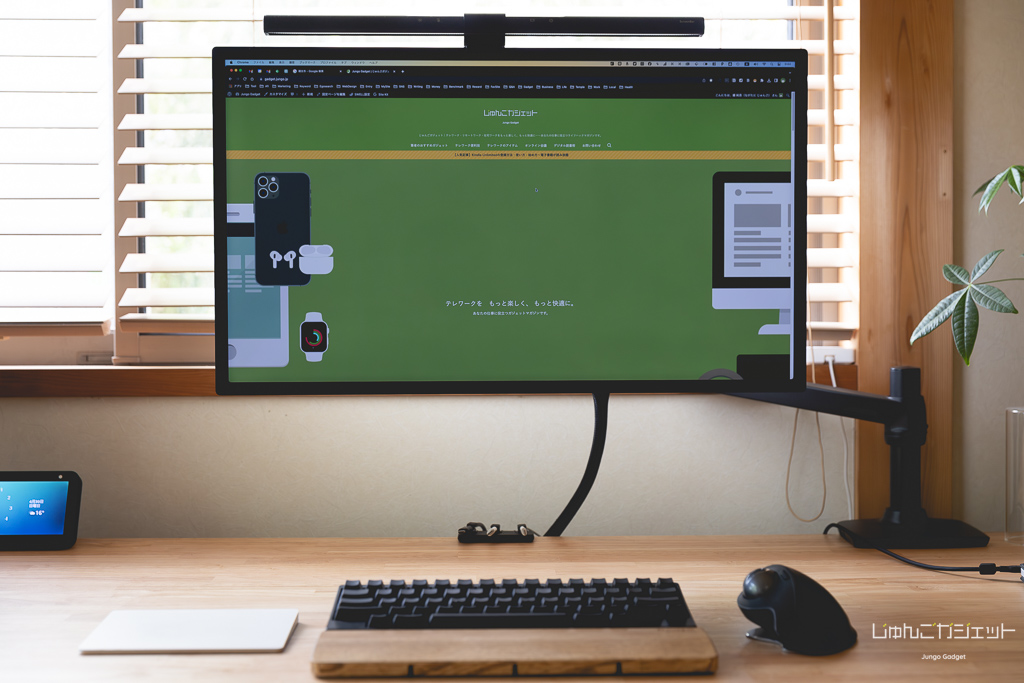
筆者Studio Displayの5Kの高精細な画質に満足です。
色合いも自然な感じで、写真や動画の編集にもってこいですね。
作業も楽々です。27インチの広い画面なので、複数のウインドゥを同時に開いても余裕があります。
最大リフレッシュレートは60Hzと十分。
Studio Displayは、クリエイター向けってことかしら?
筆者編集作業だけでなく、動画の視聴にも最適ですよ。後述しますが、スピーカーも高品質なので、迫力の映像と音で映画を楽しむこともできます。
Studio Displayのメリット
カメラが付いている
一般的なディスプレイにはウェブカメラが付いていないものが多いですが、Studio Displayには、インカメラが内蔵されています。
オンライン会議のためにウェブカメラを買い足す必要がないですね。
顔を中心に固定するセンターフレーム機能もついています。
筆者ただ、カメラの画質はそれなりです。
MacBook Proのカメラの方が綺麗に写りますね…
Studio Displayのメリット
スピーカーの音質が良い
一般的な液晶ディスプレイに付いているスピーカーは、申し訳程度のものが多く、音質には期待できません。
Studio Displayのスピーカーは、空間オーディオに対応した、6スピーカーシステム。
Macから出る音が綺麗に響きます。
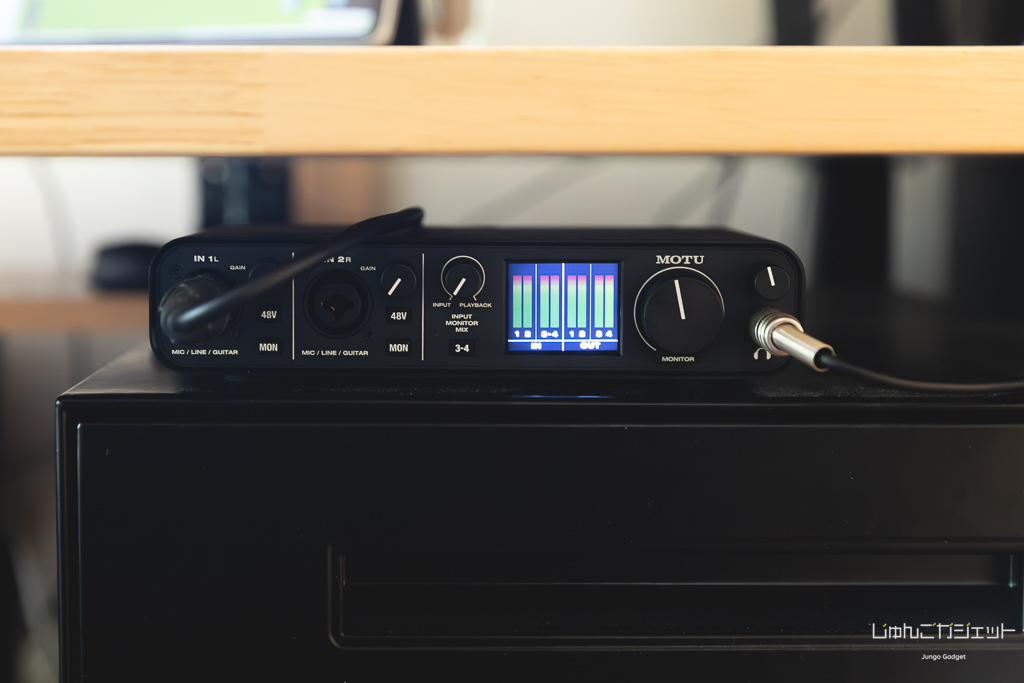
筆者ただ、私は、オーディオインターフェイスとモニタースピーカーで、Macを中心にしたオーディオシステムを組んでいます。Studio Displayのスピーカーはほとんど使わないかも…
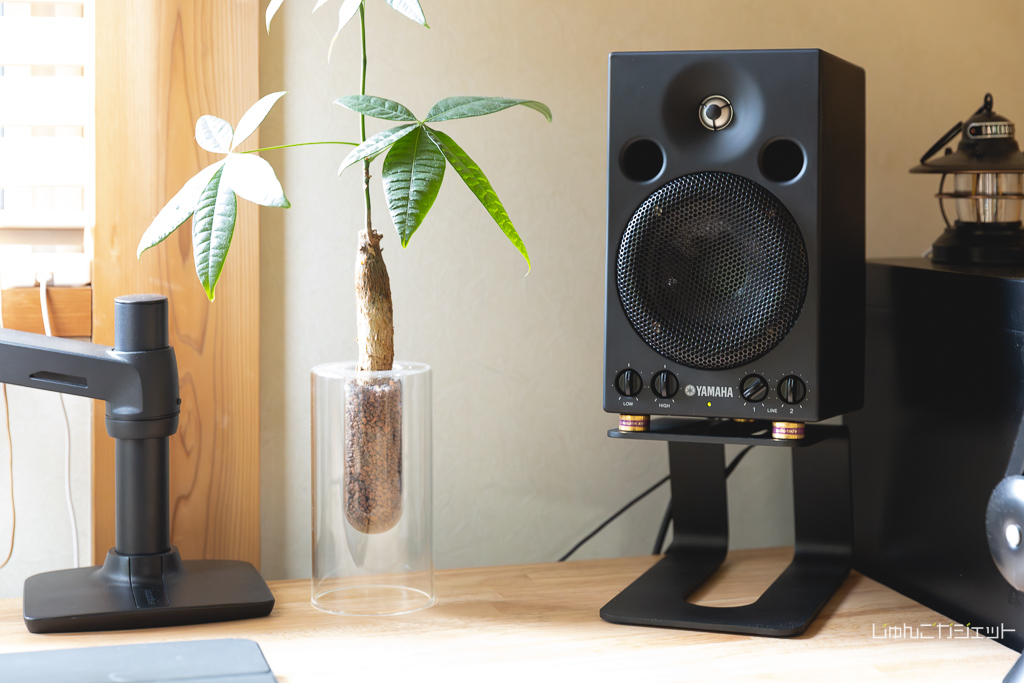
Studio Displayのスピーカーは、やや低音がブーストされた印象。個人的には原音に忠実なモニタースピーカーの音の方が好みですね。
Studio Displayのデメリット
値段が高い
Macと相性が良い、5Kの高画質、カメラ付き、スピーカーの音が良い。良い所だらけのディスプレイね。
筆者そうなんですが、Studio Displayにもいくつか欠点があります。
Studio Displayの一番のネックは、その価格。
お値段は219,800円からと高額です。
筆者DELLやLGの4Kディスプレイは、3万円台から買えますからね…
とはいえ、他社製ディスプレイにはMacと接続の相性の問題があったり、色再現性が低かったりします。
そういう意味で、Studio Displayは、Macで写真や動画を扱う人には最高のディスプレイですね。
Studio Displayのデメリット
Macユーザーオンリー
Studio Displayは、Macのためのディスプレイ。
逆に言うと、Macユーザー以外の人は恩恵が受けられない部分もあります。
Windowsのパソコンもつなげられるの?
筆者一応つなげられますが、機能が制限されたり、色再現性に問題があるようです。
生粋のMacユーザー向けってことね。
Studio Displayのデメリット
パソコンを1台しかつなげられない
一般的なディスプレイは、複数のパソコンをつなぎ、スイッチで切り替えできるものが多いです。
Studio Displayの入力端子は1つだけ。パソコンが1台しかつなげられないディスプレイです。
筆者私は、Mac miniとMacBook Proの2台持ちなので、入力が複数あると嬉しかったのですが…
Studio Displayはどんな人におすすめ?
結局、Studio Displayって誰におすすめなの?
筆者動画・写真・デザインなどを扱うクリエイターにおすすめしたいですね。
また、iMac27インチモデルからの買い替えにも最適です。
それと、Mac mini・Mac Studioのメインディスプレイにも良いです。

逆に、そうでない人にはオーバースペックかもね…
Studio Displayは、Macと相性が良い、高画質な大画面ディスプレイ。
動画編集アプリや写真現像アプリとの相性は抜群です。DTPなど、デザインの現場でも最適なディスプレイです。
iMacの27インチ5Kモデルをこれまで使っていた方は、Mac miniまたはMac Studioと、このStudio Displayを組み合わせても良いでしょう。
筆者元々、Studio Displayは、Mac Studioと同時発売されましたからね。
Studio Displayと一緒に買うべきおすすめアイテムは?
Studio Displayに、どんな周辺機器を使ってるの?
筆者デスクライト、モニターアーム、ケーブルカバーぐらいですね。
カメラが付いているので、ウェブカメラは必要ありませんし。
インカメラ・スピーカー付きのStudio Display。
周辺機器が少なくてすむのも魅力です。
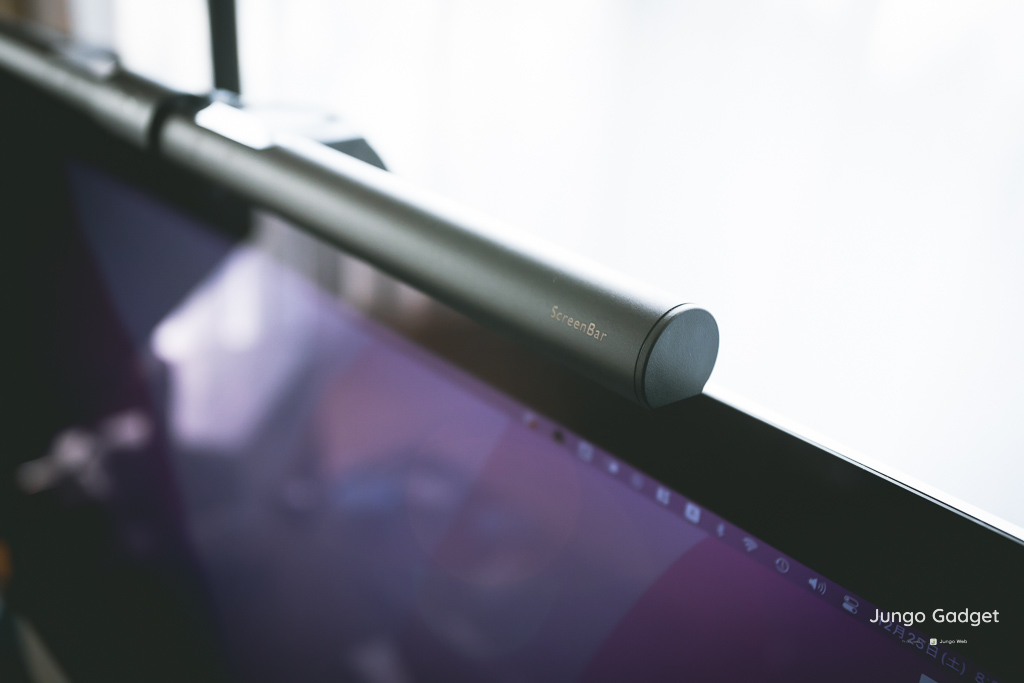
デスクライト
BenQ スクリーンバー
デスクライトは以前から使っているもの。BenQのスクリーンバーです。
モニターに引っ掛けるタイプのライトです。
 筆者
筆者画面には光が当たらず、手元だけを照らしてくれるので、便利ですよ。
自動調光もしてくれる優れものです。
筆者ひっかけるとき、インカメラに被らないように注意が必要ですね。

モニターアーム
エルゴトロン LX デスクマウント モニターアーム
これも、以前から愛用しているモニターアーム。エルゴトロンのLX モニターアームは、定番の人気製品です。
今回購入したStudio Displayは、スタンドのついていないVESAマウントモデル。本体を吊るすためのアームが必要です。
VESAマウントモデルにすると、何か良いことがあるの?
スタンドが別に必要ってことでしょ?
筆者ディスプレイを机の上で自由に配置できますし、下に空間ができるので、使い勝手が上がるんです。
机を広く使いたい方には、VESAマウントモデルとモニターアームの組み合わせをおすすめします。

ケーブルカバー
YIUTERA 編組ケーブルスリーブ
リーズナブルなケーブルカバー。
Studio Displayの電源ケーブルとThunderboltケーブルをまとめるのに使っています。
筆者見た目がスッキリするので、ケーブルカバーは便利ですよ。

Appleユーザーにおすすめの高級ディスプレイ
Studio Displayは、Macと相性が良い、高画質な大画面ディスプレイ。
ただし、それなりに値段がするのがネックではあります。
| メリット | デメリット |
|---|---|
| Macと相性が良い 画質が良い インカメラが付いている スピーカーの音質が良い | 値段が高い Macユーザーオンリー パソコンを1台しかつなげられない |
ちなみに、Studio Displayには、OSが内蔵されています。ディスプレイ本体のソフトウェアがアップデートされるので、今後、新しい機能が追加されていくかもしれません。
筆者割高なディスプレイですが、長い目で見て良い買い物だったと思います。
ずっとMacユーザーであることが前提だけどね 笑